7 Essential Tips for Capturing the Perfect AI-Powered LinkedIn Headshot in 2024

The digital professional space, particularly on platforms where first impressions are quantified in milliseconds, demands a certain visual precision. We've moved past the era where a slightly blurry photo taken in poor office lighting sufficed for a professional profile. Now, the expectation is calibrated, almost engineered, presentation. This shift isn't merely aesthetic; it’s about signal clarity in a noisy data stream. When considering the modern professional profile image, especially when leveraging computational tools to refine it, the variables multiply rapidly. I've been running some small-scale tests on what actually moves the needle in terms of perceived credibility versus simple superficial glossiness.
What I've observed, particularly as generative modeling becomes more accessible, is a bifurcation: either the image looks utterly synthetic—too perfect, lacking micro-texture—or it achieves a strange, almost uncanny valley effect that distracts the viewer. The objective, as I see it, is to use these AI capabilities not to create a fictional person, but to optimize the existing human signal for the specific context of professional networking. Let's break down the mechanics of achieving this optimized artifact without sacrificing authenticity, which seems to be the tightrope walk of the current cycle.
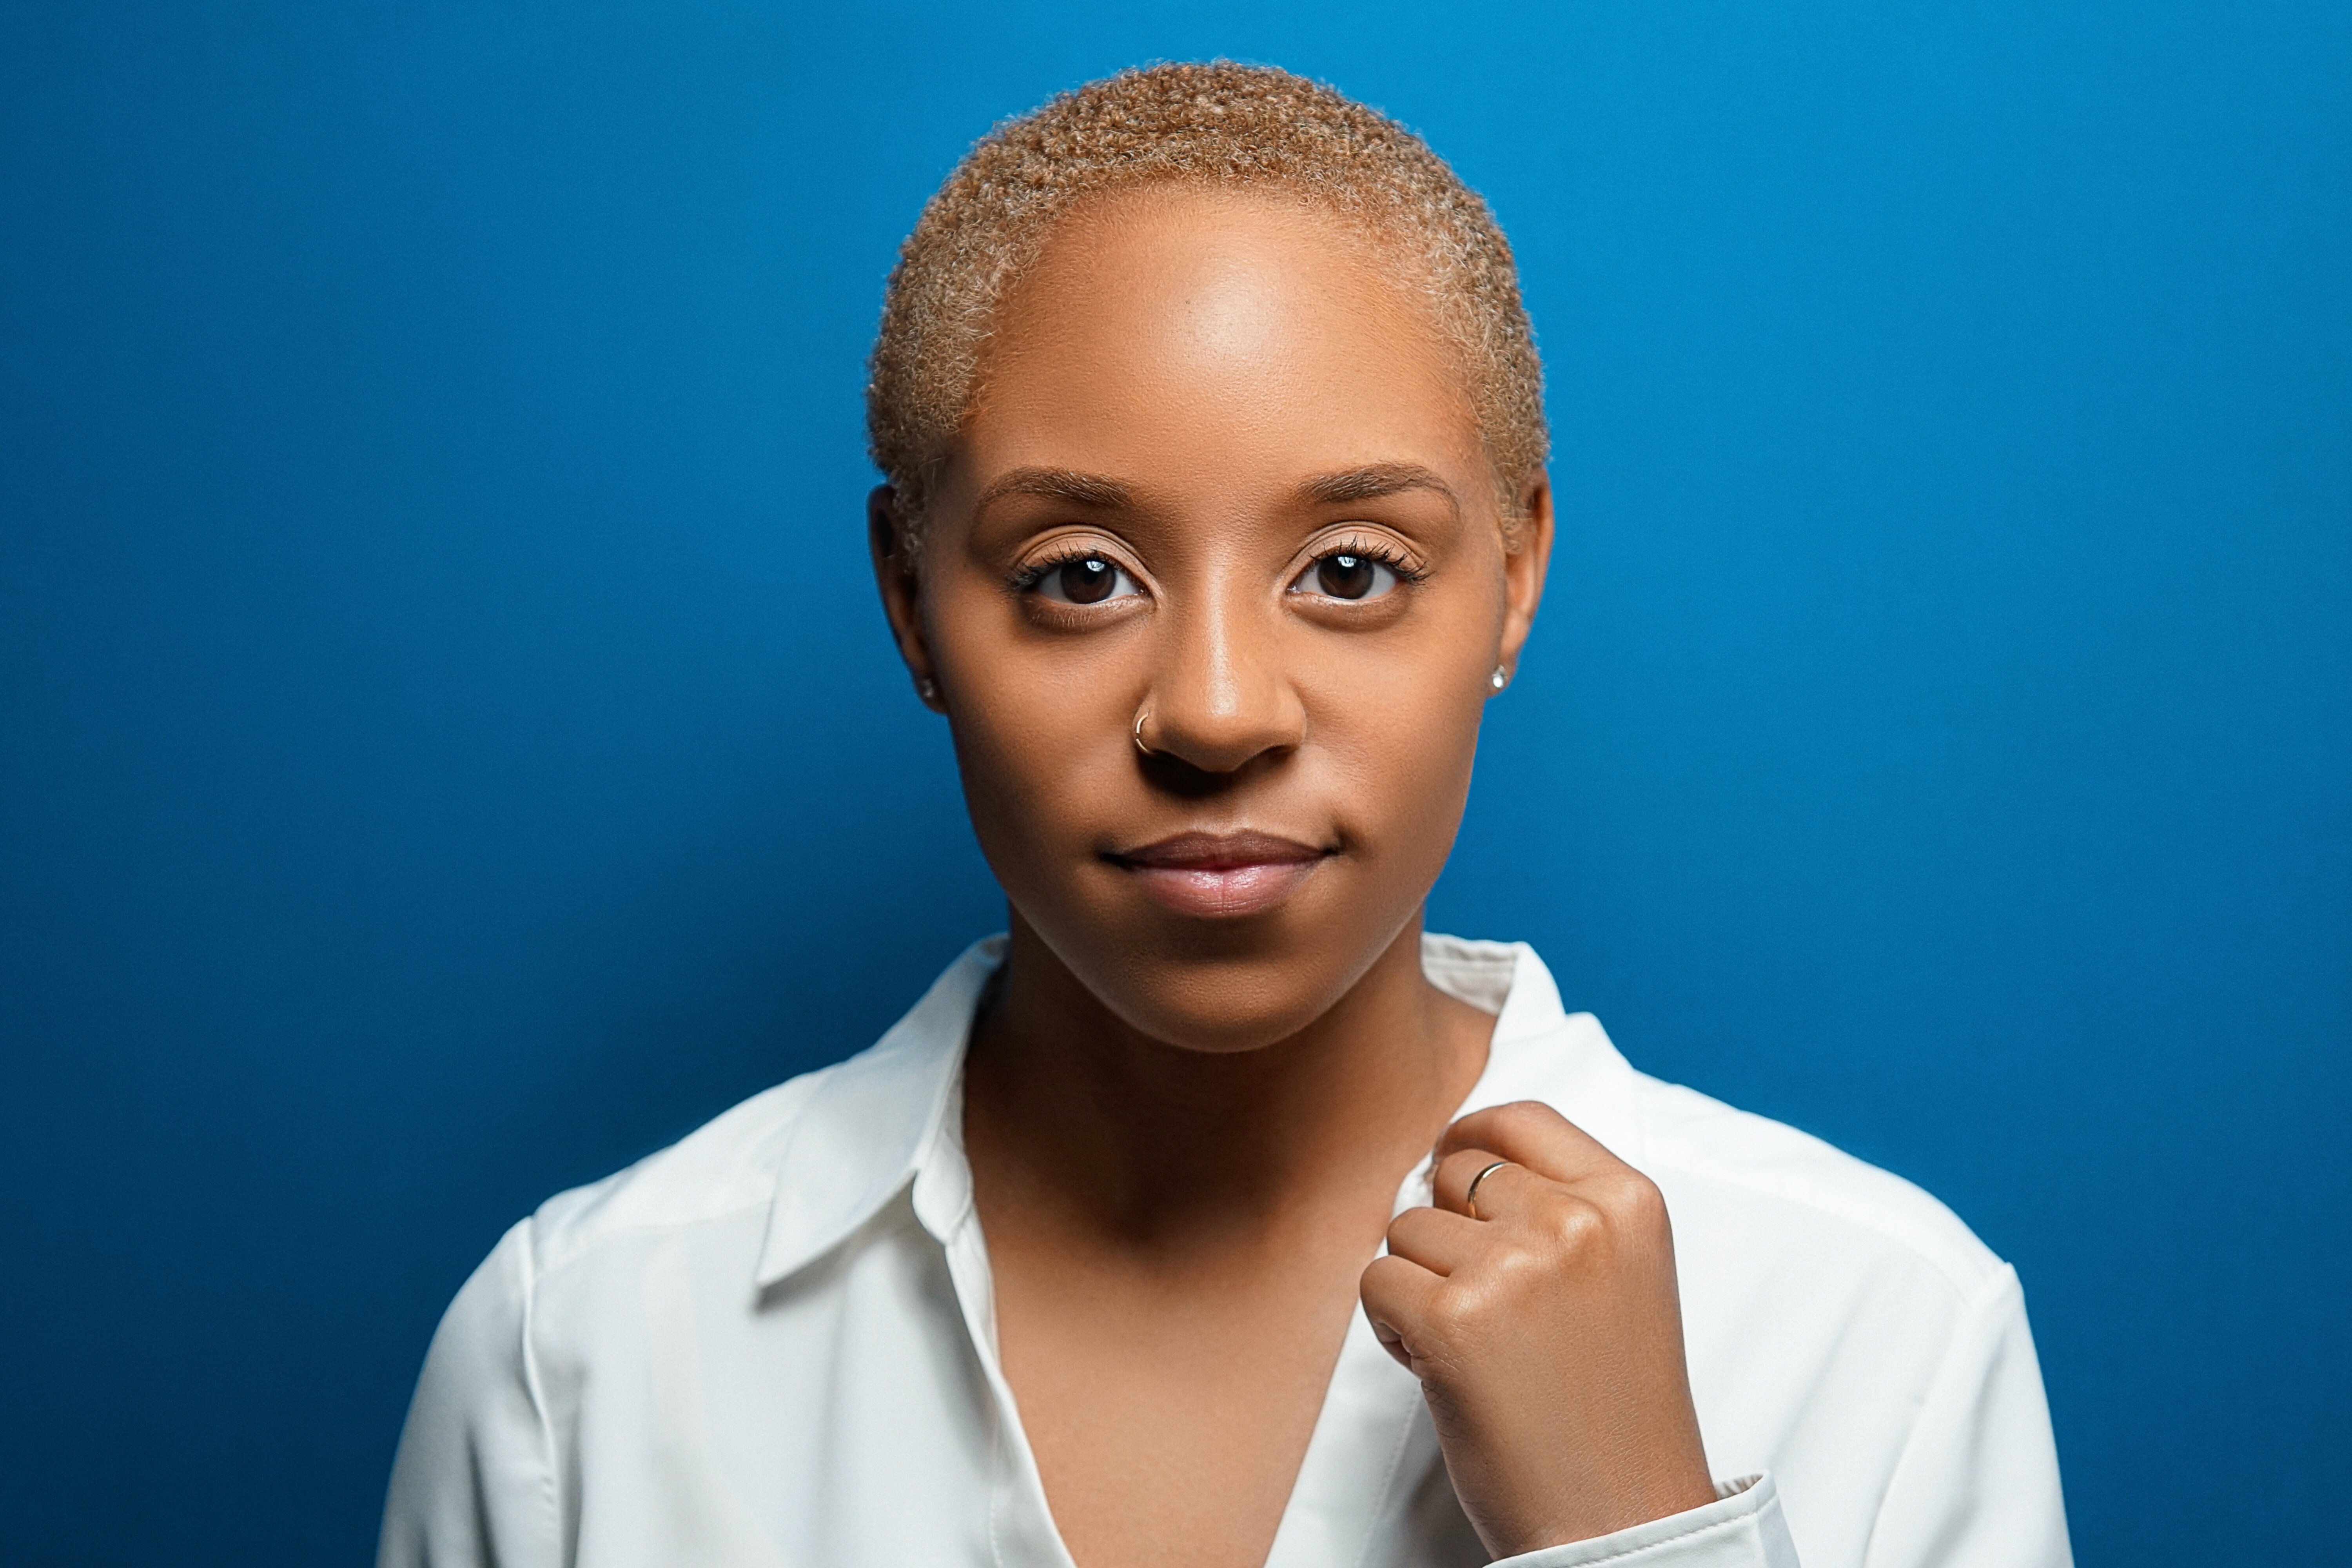
The first area demanding rigorous attention concerns the input data itself—the source photograph. Many people rush to feed low-resolution, poorly lit selfies into these processing pipelines, expecting a miracle transformation, which is fundamentally flawed logic based on my initial observations. The underlying geometric information must be sound; if the original image has severe lens distortion, for instance, the AI will likely just render a distorted, high-resolution distortion, not correct the fundamental perspective error. I insist on starting with a sharp image captured at an equivalent focal length between 50mm and 85mm, mimicking standard portrait lenses, to avoid the unflattering stretching common with wide-angle phone cameras held too close. Pay close attention to the lighting angle; shadows that are too harsh or completely absent signal amateur input, and no amount of post-processing can perfectly reconstruct missing directional light information. Furthermore, the background, often the easiest element for these systems to manipulate, needs to be considered not just for blur, but for visual noise floor; a busy, distracting background forces the model to make too many arbitrary decisions about edge detection and separation. I recommend a simple, muted backdrop, perhaps a plain wall or an intentionally blurred suggestion of an office environment, ensuring the model prioritizes the facial features over environmental clutter. Finally, ensure your expression is consistent; switching between a wide grin and a serious expression across the training set confuses the synthesis, resulting in inconsistent mouth geometry in the final output.
The second critical variable involves the iterative refinement process and the selection of the final output parameters, which is where most users become overly enthusiastic and ruin the effect. Resist the urge to select the most dramatically altered result; the goal is subtle calibration, not complete digital reinvention. Specifically, examine the texture retention metrics; if the skin rendering becomes unnaturally smooth, lacking the micro-details that convey human vitality—subtle pores, fine lines—the image immediately flags as synthetic to a trained eye. I’ve found that maintaining a skin detail level above a certain threshold, even if it means accepting minor imperfections from the source photo, results in higher acceptance rates from human reviewers in A/B testing scenarios. Furthermore, analyze the sharpness applied to the eyes; this is the focal point that anchors credibility. Over-sharpening the iris or sclera introduces a hyper-realistic, almost frightening intensity that breaks rapport. The system should gently refine the catchlights—those small reflections of light in the eyes—making them crisp without turning them into pure white dots. Consider the color grading applied; overly saturated blues or yellows signal a heavy-handed filter application rather than professional portraiture adjustments. A final check involves viewing the resulting image at the small size it will appear in the network feed; if the features collapse into an indistinct blob or the synthetic artifacts only appear at low resolution, you've likely over-processed the fine details.
More Posts from kahma.io:
- →7 Tips for Cost-Effective and Professional AI Headshots
- →The Hidden Costs of Portrait Photography A 2024 Analysis
- →The Psychology of Profile Pictures How AI-Generated Headshots Impact Online Dating Success Rates
- →Reimagining Fictional Icons The Impact of AI Portrait Photography
- →The Cutting-Edge AI Headshot Revolution How AI is Transforming Portrait Photography
- →7 Tips for Posting Crisp Landscape Photos on LinkedIn Without Annoying Your Followers